Byhand.me Interviewed Me!
Every time I do one of these interviews, I proofread and am amazed at how wacky I am. I’ve got my hand in so many different things all at the same time, but it never feels that way while I’m doing everything, only when I take a step back.
So read up and enjoy…
And should you need some really smooth, really silky soap that won’t irritate your skin, go here and enjoy!
Blaze Twilight’s Fancy Necklace
Since I kinda had fun posting Twilight Dream, I’m going to make this into a habit.
Meet Blaze:
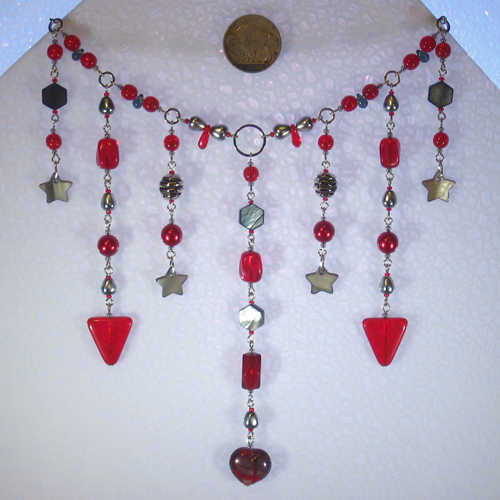
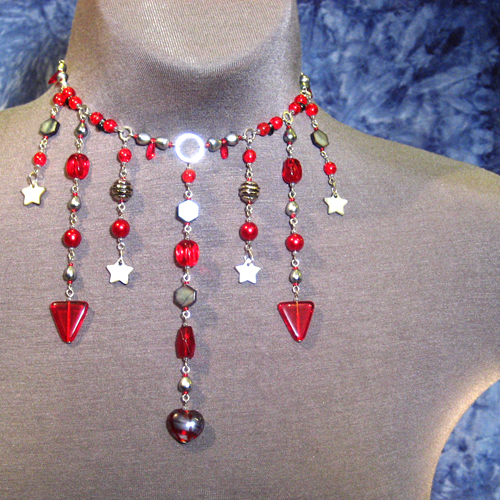
I just really wanted to build a red necklace. I have a surplus of red beads, so I focused on that color to see what I could come up with. I finally got to use that red and gray heart at the end of the center dangle. It seems like every other time I pulled out my red beads, I’d pick that one up and try to make a necklace around it, but end up going in a different direction. This time, it worked quite well.
So well, that I got a little excited and this necklace has not only a lot of dangles, but they’re all really long. It’d look great filling the deep V of a little black dress or over a white turtleneck.
Blaze is now for sale in my Twilight’s Fancy ArtFire shop. And can I just say that I’m really digging that red? So much so, in fact, I’m gonna go make something else red right now because I didn’t use up anywhere near what I wanted to use up. Yeah! Even with all those dangles!
How to make a ribbon choker necklace…coming soon!
I make a lot of ribbon choker necklaces and I know there are people who’d like to learn how.
It’s super easy and I’ll do a nice how-to real soon.
Right now, I’m preparing a series about repairing one of my antique dolls. Next up will be the ribbon choker necklaces, I promise!
In the mean time, if you’d like to see pictures of them, peruse my shop at ArtFire. I make them out of different ribbons and even set them into greeting cards.
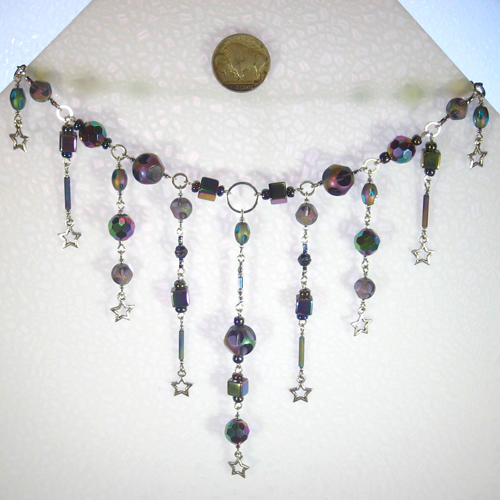
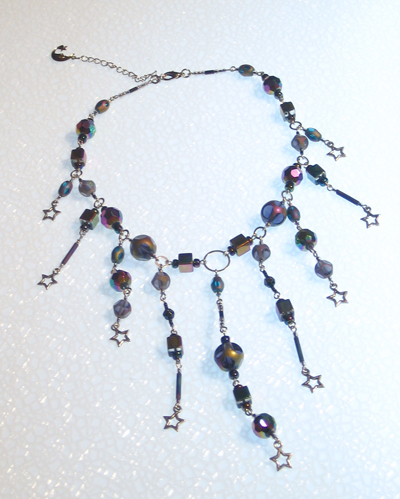
Twilight Dream
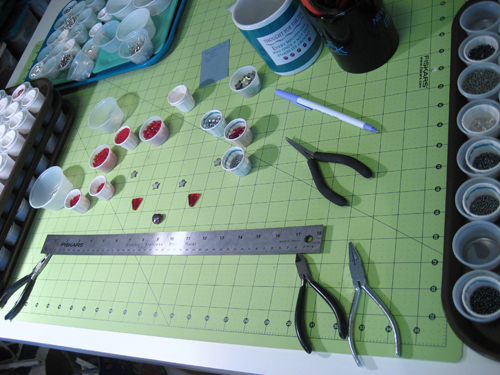
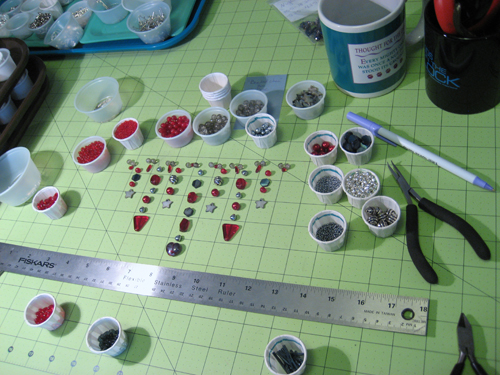
A few days ago, I was making a necklace. My camera happened to be sitting nearby, so I snapped a pic:
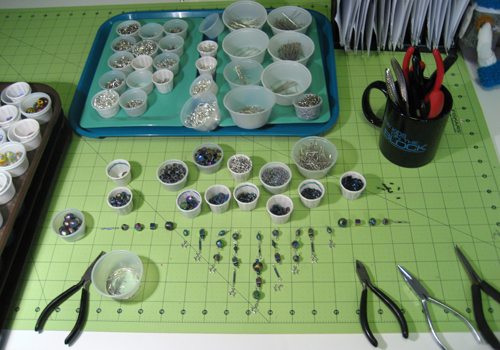
I was finished with most of the design process and into the building phase. (In the upper right corner, Gonzo was keeping me company that day! LOL) I just sort of flashed back to when I first started making jewelry. I was in junior high. My mom got me a set of mini-pliers (those were the days before you could get them in craft stores. She had to go into the tool department at Sears!) which I still use to this day. And I still set them out almost exactly the same way every time.
Also, when I was in junior high, I was in the middle of my 5 year tour of duty with braces. Aside from all the choking on plaster at the orthodontist’s office, the other memory I’ve brought with me was the 10+ pairs of pliers that were always neatly laid out one inside the other. I used to do the same thing, but I guess I’ve gotten a little lazy in my old age. Plus, this way, whatever I use in whichever hand is right there. I need not go far.
So, anyway, back to the necklace… It turned out quite well. I tried a few new things (like finishing the design during the building process rather than before) that may not work for every necklace, but definitely did for this one. That makes more options for each one.
What was peculiar about the whole process was that I’d twittered about making a necklace and told myself that I’d get it photographed and listed, too, all on the same day. Then…I goofed and accidentally listed the wrong one. Whoops! I suppose a day or two late is better than never, huh?
Always feel free to stop by my storefront at TwilightsFancy.ArtFire.com. I add something new every day. For more information on the necklace I just made (or to buy it!), click here!


