How To Make A Ribbon Choker Necklace — Part 3
UPDATE: For a better tutorial, visit ribbonchoker.com.
The ribbon choker necklace is almost done. I’ve laid out everything needed in order to finish it. The ribbon with clamps installed, the jump rings, clasp and extension chain.

Step five: ADDING THE FINDINGS AND FINISHING!
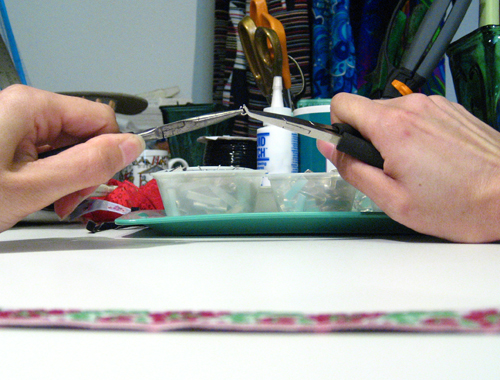
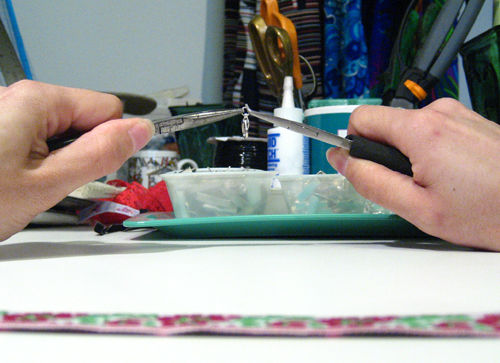
Open a jump ring.

Put the clasp on it and close it.

I put this extra jump ring onto the clasp so that it will lay right when it’s attached to the ribbon clamp and allow a little extra room for your thumb to work the clasp when you wear the necklace.
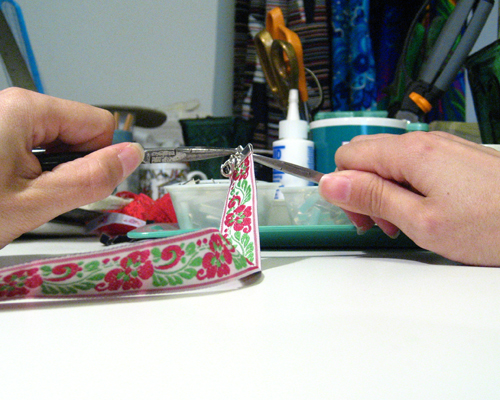
Open another jump ring and this time join the ribbon clamp to the jump ring on the clasp and close it.

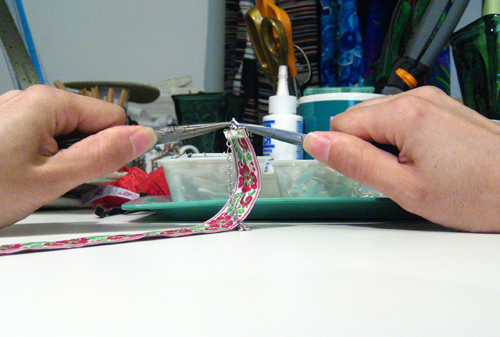
Finally, open the last jump ring and join the extension chain to the other ribbon clamp.

There you have it! A beautiful ribbon choker necklace!

This one doesn’t exactly match what I happened to be wearing that day, but oh well. I had fun making it!

To see more of my work, visit my Etsy Store and my Artfire Store. If you mention my ribbon choker how-to blog series during checkout of any purchase from my shop, I’ll include a free ribbon choker necklace.


