How To Make A Ribbon Choker Necklace — Part 1
UPDATE: For a better tutorial, visit ribbonchoker.com.
I think it’s pretty safe to say that we all know ribbon comes in many different shapes, sizes, colors and in various ways. Sometimes it’s on a spool, sometimes it’s wadded up and shoved in the corner of a box long forgotten, sometimes it’s on cards or wrapped around a gift. My ribbon comes from all sorts of places. Some is old, some is new, some is plentiful, some is just a scrap. But I treasure it all.
In this series of posts, I’m going to show you how to make a ribbon choker necklace. I’m sure there are many other ways of doing it, but this is how I do it and I hope it helps get your creativity flowing in bigger, better ways, too.
Okay, step one: GET RIBBON!
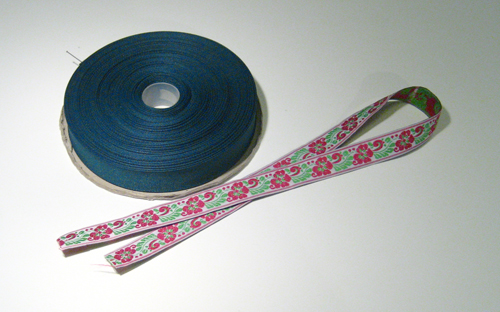
For this series, I’m going to use the flowery ribbon. It suits my personality.
Step two: GET TOOLS!
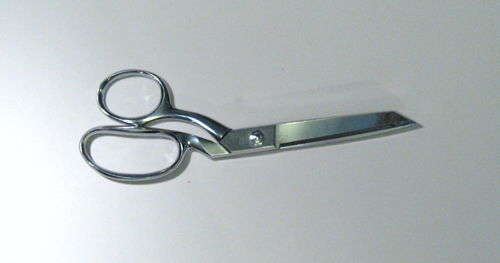
I like to use fabric scissors because a clean, straight cut is very important. Sometimes I use a rotary cutter, but that’s mostly when I’m making several necklaces at once. I lay the ribbon on my cutting mat and do a few long slices rather than cutting each necklace individually.
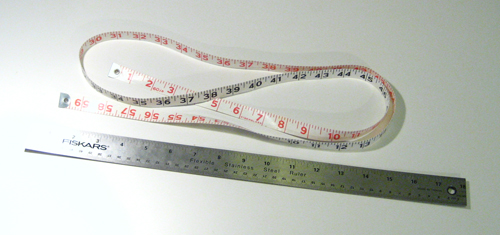
While it’s possible to make a ribbon choker without having a tape measure or ruler, sometimes they really come in handy. Especially if you don’t always have the neck that you’re making the choker for. If you measure your sister’s neck that first time, write it down so you can make more for her without having to measure…unless she’s still growing. You don’t want her to outgrow your necklaces!
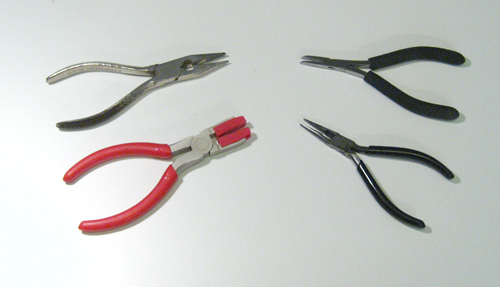
Here’s where things get a little tricky when it comes to tools. Pliers are a necessity, but the type of pliers can vary. I like to use one pair of bent needle nose pliers with a pair of straight needle nose, but you could easily use two straight ones. Basically, you need two pairs of pliers with small tips.
The red pair of pliers was specially designed for bending wire. There are plastic wedges on the nose so that when you bite down on wire, it won’t get scratched. While this pair is not necessary, I highly recommend it so that you won’t scratch up your metal ribbon ends.
Before I got these inexpensive pliers, I actually devised a rather strange way of using two small blocks of wood to smash the ribbon clamps closed. While that method worked and didn’t scratch, it was rather unwieldy. If you’re using textured ribbon clamps, scratches are easier to avoid…or at least they don’t show up as clearly through the design.
Step three: GET FINDINGS!
Ribbon clamps come in many different sizes. Since I make chokers out of a lot of different sized ribbons, I have an array of clamps which I can use. Some are textured and some are smooth. I’ve seen them sold in multi-packs, too. Basically, you need the one that most closely matches the size of the ribbon you’ve chosen to use. It can be a little bigger, but I don’t recommend going much smaller.
The main thing the clamp does is keep the ribbon from fraying. If the clamp is too small, the edges of the ribbon will start shedding and fraying. A clamp that’s too big just looks a little funny, but I’d rather it looked funny than have the ribbon fall apart.
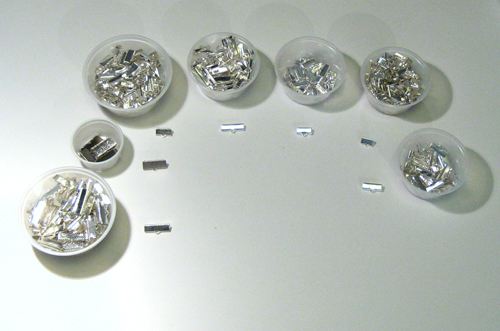
Finally, you’ll need various necklace findings.
Jump rings, clasps, more jump rings (because I can be obsessive sometimes) and extension chains.
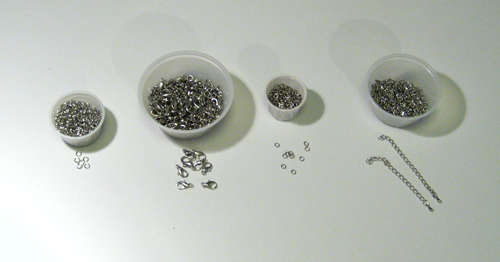
I like to use two different sizes of jump ring, but it honestly doesn’t matter. I’m mostly just trying to use up what I have. I use the extra jump ring to make the clasp line up better.
Clasps are also a thing of personal preference. I like lobster clasps, but any clasp will do.
Extension chains are not necessary, but they sure do help a lot. For instance, if you accidentally made the necklace too small, it’ll still fit perfectly with the extension. Also, an extension chain can facilitate where the necklace sits on your neck whether high or low. They aren’t absolutely necessary, but I highly recommend them.
You can make them out of old necklaces, too. Just cut 2 or 3 inches from a length of chain. If you’re in the mood, add a charm at one end as a nice little personal touch.
Up next will be how to use all these tools and supplies in turning a length of ribbon into a cute little necklace.
To see more of my work, visit my Etsy Store and my Artfire Store. If you mention my ribbon choker how-to blog series during checkout of any purchase from my shop, I’ll include a free ribbon choker necklace.
My Shoe Chronicles — Red Keds
I’ve had these shoes for about twenty years and it really shows. I used to wear them almost every day. They’re much loved and I’ll probably wear them until they fall off my feet completely.
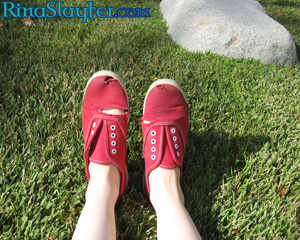
In fact, when I was in high school, I even marched in a few parades in these shoes. Depending what year, I played flute, piccolo or bells. When we weren’t in full uniform, we wore our band shirts, white pants and whatever shoes we wanted. Well, these were those. I’ve marched many a mile in them.
My First Fair
Yesterday was a challenge. Could I really get my act together enough to start selling my necklaces at craft fairs? My best friend hooked me up with the opportunity, but it was up to me to figure out displays, and bags and signs and price tags and all the other little things you just don’t need when you sell online.
Challenge met:
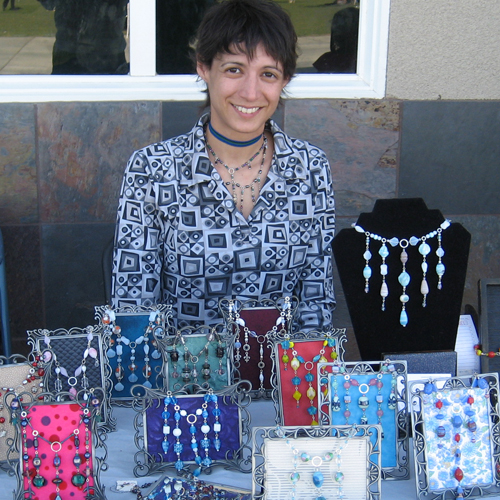
Somehow, I pulled it off. I’m still not really sure how since I’ve had this stupid cold for the last week and a half (almost gone now…almost). I didn’t even have to go out and buy stuff to make it happen. Everything I needed was either in raw materials in my craft room or literally waiting for a rainy day.
Oddly enough, those picture frames are from the 99 cents store. I got them probably 4 years ago. I know it was a long time ago. The idea was to use them for photos my husband had taken during our trips all over England, Wales and Scotland which I displayed in my front room. I also had a bunch of Medieval images on postcards that I’d never send, so why not frame them? Well, I’d filled up all my larger frames and these little ones were left over.
Had it not been for a real slap-job cleaning the house, I would’ve completely forgotten them.
My husband and I were trying to figure out what to do with some acrylic grapes I’m storing our best friend. As I stood there grimacing in my front room, my gaze landed on a stack of two trunks behind our couch. I knew one was full, but the other? I cracked it open and managed to fit just about everything in there. Only a few things left.
There’s a Victorian trunk on the other side of the room, so I had my husband open it. It wasn’t just full, I couldn’t’ve added a piece of paper or the lid would not’ve closed. Almost nothing but picture frames. Some empty, some full. The memory of hoarding came back to me. They’d been nice frames for cheap. I couldn’t resist because “I knew I’d use them for something…”
That “something” ended up being my very first fair. All I did was pull out the glass and replace it with cardboard which I spray glued different fabrics onto. Something tells me my hoarding impulse paid off pretty big on this one!
My Twilight’s Fancy necklaces just don’t display well flat. They need a little gravity acting on them. To see more, click here!


