How To Make A Ribbon Choker Necklace — Part 2
UPDATE: For a better tutorial, visit ribbonchoker.com.
This is where it all starts to come together. Remember, there are plenty of other ways to make a ribbon choker necklace, I’m only presenting the way I do it.
Step three: MEASURE AND CUT!
There are a few ways to figure out the length of ribbon you’ll need. It’s always a good idea to measure the neck you’re about to make the necklace for just so you’ll have a number to reference later.
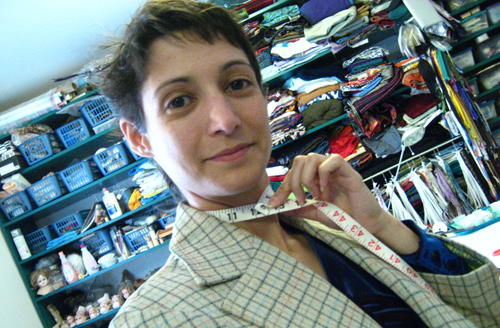
Yes, I have a very small neck.
Using a measuring tape is easiest. If you don’t have a measuring tape, you can also run a string, ribbon, shoelace, whatever around the neck, pinch your fingers over the spot where the end meets the rest and then measure that length with a ruler.

No matter which method you use, subtract a little more than an inch. If you’re not using an extension chain, you might want to subtract only 3/4 of an inch. I like to subtract at least an inch. That way I’ve got more room to adjust not only how tight the necklace is, but where it’ll land on my neck. I can wear it tighter which’ll make it sit higher or looser which will make it lower on my neck.
Sometimes the wider ribbons will need to be a little shorter because they’ll end up sort of conical around your neck rather than perfectly cylindrical. You’ll definitely want some room for adjustment on those.
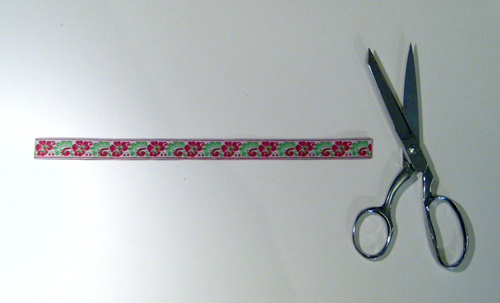
No matter what the length of your ribbon, make your cut perfectly straight across perpendicular to the length of your ribbon. If the ribbon wants to fray, cut the fuzz away, too. You want good, solid ribbon inside the clamp.
There are anti-fray products as well as glue that you can use, but it’s not necessary unless you’re working with a particularly thin and finicky ribbon that would rather fray than cooperate. If that’s the case, the ends will need to be treated or even folded and sewn.
I haven’t needed to take any drastic measures other than a dot of fabric glue to hold down the thread on the back of some of my beaded and/or sequined ribbons. I just don’t want them to unravel and all I do is load the tip of a toothpick with fabric glue, touch it to the thread and push it down to the back of the ribbon at the very edge so that it’ll be completely hidden when the clamp goes on.
Step four: PUTTING IT TOGETHER!
Choose the right clamp to fit your ribbon.
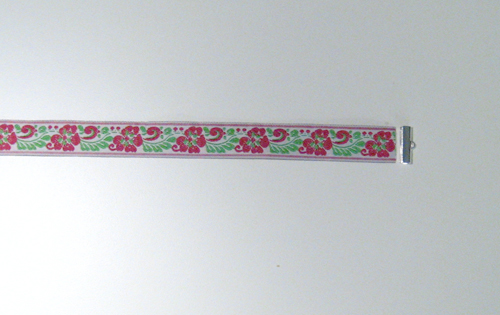
I was lucky in that the clamp and the ribbon match in size. On my wider ribbons, I have to iron the corners down and cut a new edge in order to match the thinner clamps.
Still with me? Now we’re really turning this bit of ribbon into a pretty necklace.
Put the clamp in the pliers. (Sorry about my photography. I did this whole series by myself and sometimes I really needed a third hand to help out. At least it shows that you don’t need much room in order to put these together.)
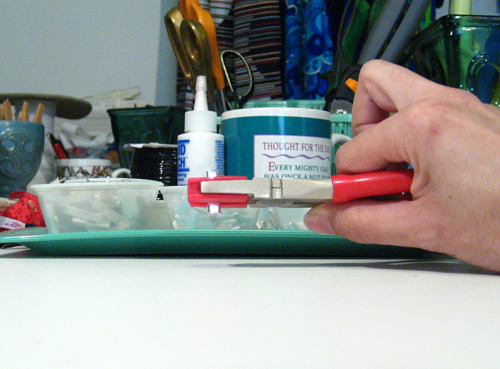
Now for the fun part. I’ve got the clamp in my pliers, ready to compress. I add the ribbon with my other hand, holding it between my thumb and forefinger to keep it centered in the clamp. My other fingers are pushing it into the clamp.
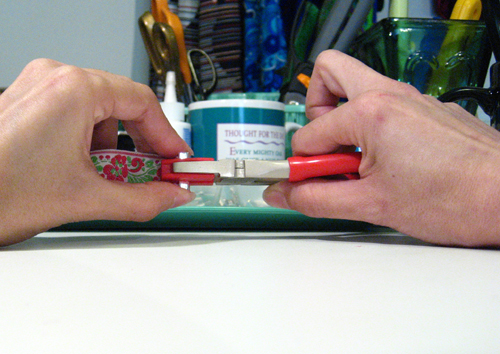
Now smash the clamp closed. I usually get my thumb and forefinger a little stuck. There’s a knack to not hurting them and even after as many as I’ve made, I still get pinched now and then!
It won’t be closed all the way just by compressing it in the middle. Keep your fingers in place, holding the ribbon or it’ll slide out or go crooked and that won’t look very nice. Move the pliers to the top and squeeze. Then move them to the bottom and squeeze.
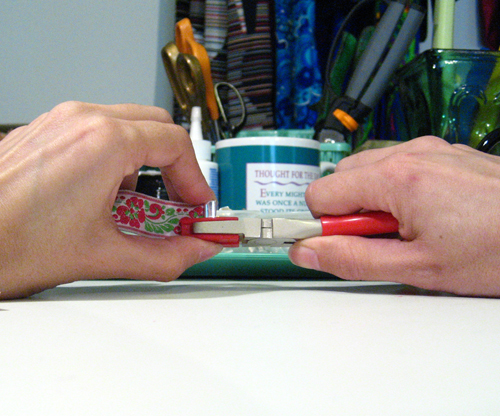
For good measure, I like to give two more squeezes along the length of the whole clamp. One on each side just for good measure.
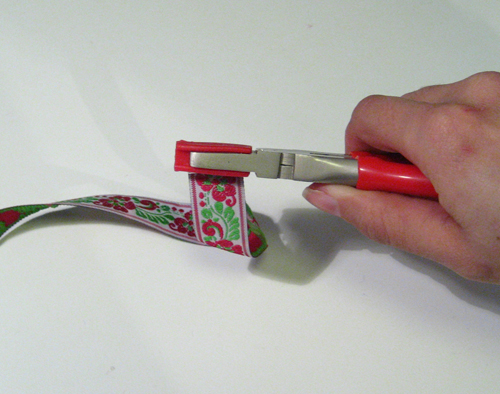
From here, all that’s left is putting on the findings…which I’ll show you how to do next time.
To see more of my work, visit my Etsy Store and my Artfire Store. If you mention my ribbon choker how-to blog series during checkout of any purchase from my shop, I’ll include a free ribbon choker necklace.


