Repairing an Antique Doll part 5
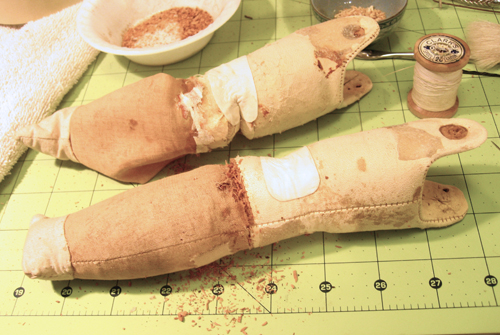
There was one tear in the fabric which I covered with a patch of old muslin. In order to keep the loss of sawdust to a minimum, I wrapped a piece of masking tape around her leg after removing all of the prior doctor’s leather. The work that’d been done was so horribly sloppy and leaky, it was really sad and surprising that the doll hadn’t lost even more sawdust. I picked the least shredded knee joint and began my patching there by making a rectangle and then splitting it for where the gusset opens up.
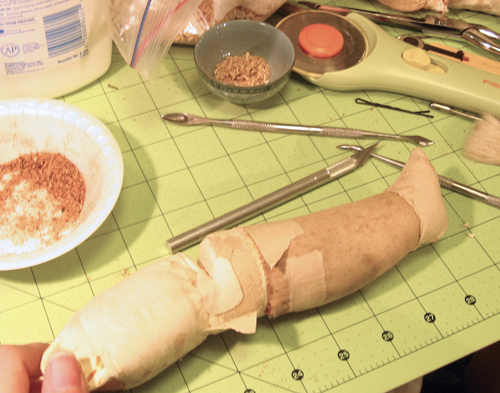
Then I did the same to the other side.
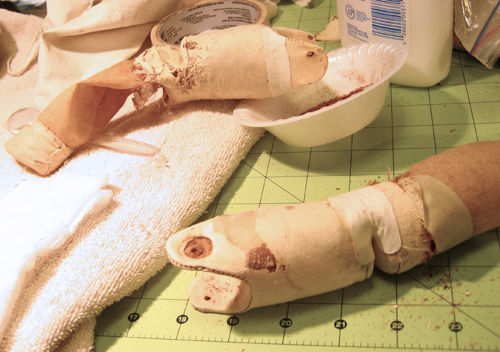
And promptly took a break from working on that leg. That way my work stays fresh and I don’t get quite as frustrated. (I switch gears a lot while I work. It seems like I’m scatter-brained–and maybe I am!–but it allows me to keep working even when the going gets tougher and tougher.)
The other side had a gaping hole so I got out my old spool of white thread. It’s not really white anymore, but that’s what makes it perfect because the doll’s body is aged as well. I did my best to gather up what leather was still there. I think I was the third seamstress to have worked on the knee, too.
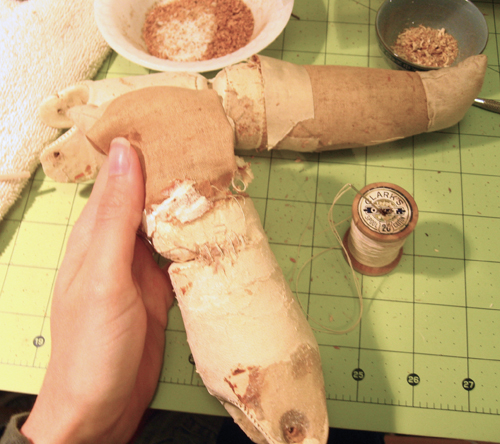
Just like the other leg, I patched this one up, too…
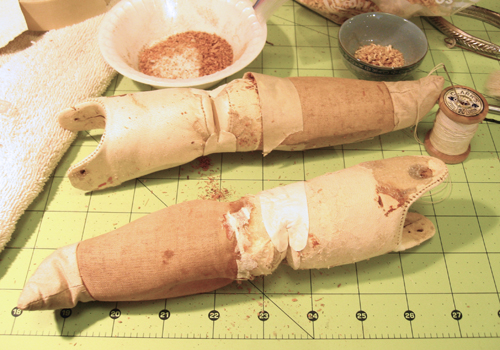
…And then set it aside because I just didn’t think I had it in me to start stuffing the whole thing with sawdust yet. I’ve stuffed arms before, but never a whole leg. I didn’t really know what I was in for and didn’t want to find out yet, either. Again, I gave myself a break and worked on the other leg.
It was pretty straight forward except that I’d need a very long piece of leather so that I could wrap it all the way around. The catch was that I couldn’t stuff the leg, wrap it and be done. I had to do it in stages so that I could give the leg the right firmness with packed sawdust. The tear went almost all the way around.
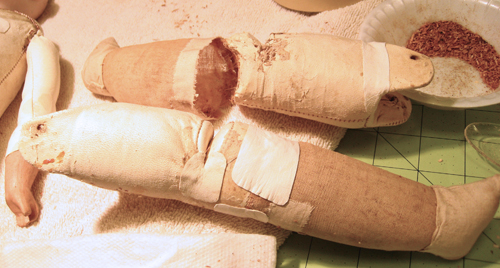
With a lot of patience, I got the leg all fixed up and read to be reinstalled. The other leg…well…I’ll tackle that in my next post.


