Fixing the arm
A funny thing happened when I finished the leg and was ready to do the arm. I’d looked over the broken one, thought about the best way to attack it. I looked at the other one to see how it had been done. They were slightly different, but the idea was there.
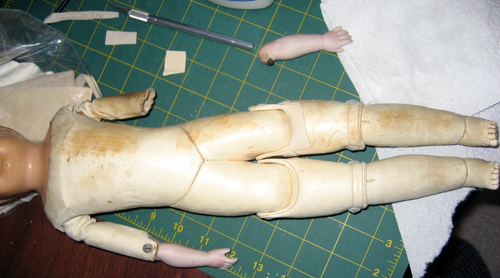
I set the doll down and…
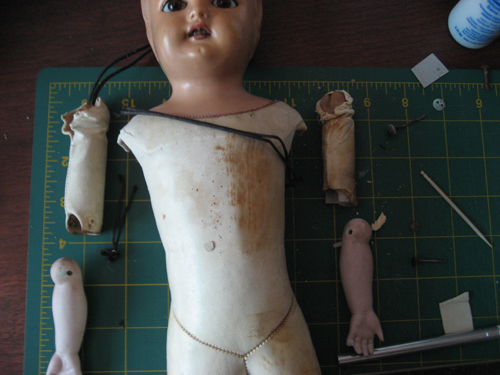
Yep. The cord that strung the arms decided to break. I think it had broken a long time ago as well because while the arms matched both bisque, and leather over wood, the elbow joints didn’t. One had been done with wire and two buttons while the other was a screw bar into sprockets. Both were correct for the time period, as far as I could tell.
First, I used a scrap of cardboard to build up the bottom of the broken arm. I glued it in place and made holes for the bar. It took me awhile because I was learning as I went along and if I didn’t get it aligned right, I’d have to start all over. Her arms had to face the same way. I glued a new piece of leather around the outside for extra strength.
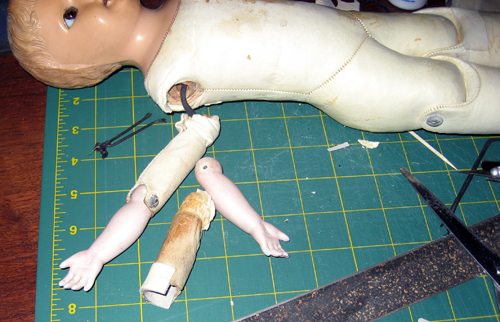
Once I was satisfied with getting the lower arm back on, I set about restringing the arms. Thankfully, I’m a pack rat and had some waxed cotton cord laying around. That was what had snapped. A few knots later, her arm was back on and the doll was done.
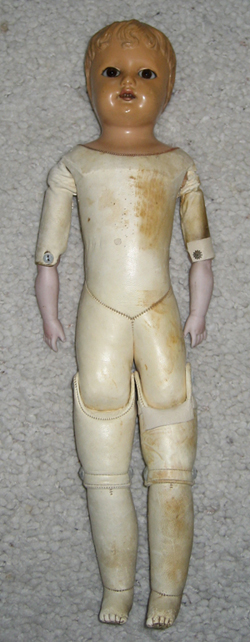
I patched a little hole in her belly with a tiny piece of leather, dressed her and put her back on display.
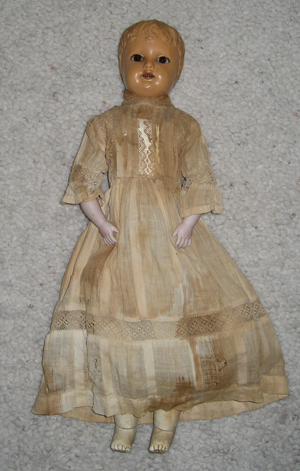
As with all my doll adventures, I learned a lot and can’t wait to do the next one. Remember the one that I wrecked my middle finger on shortly before April Fool’s Day? Well, I glued her head back together and now it’s time to do the fabric reinforcing before putting her eyes back in. She still needs a ton of work.


